Showing posts with label Joy of the Season. Show all posts

Monday, November 30, 2009

More Christmas Bag Toppers


I was very excited today to see I had my 100th visitor. I would greatly appreciate comments and followers.
Here are my three completed bags. I am very pleased with the outcome. The previous picture did not include the three snowflakes. I cut them from Bazzill Bling and put two on the bag and one on the tag.
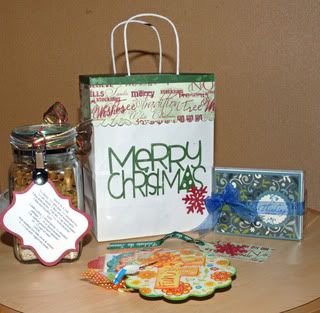
I was glad to get the contents for my bags finished and delivered. I made Soup in a Jar, greeting cards and a scallop album.


The scallop album was a M's chipboard album. A very smart person, not me, made a cut.file for it so that made covering the chipboard easy. The large "F" was cut with Mickey Font and the words are stamped on. I distressed all the edges with ink.
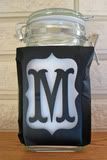
I etched the gal's initials on the jars using vinyl. I managed to use the outline repeatedly and just changed the initials. I put a paper cut of the initial inside the jar to use for alignment. The frame and initials are from Storybook.
The greeting cards are packaged in an acrylic box and tied with sheer ribbon. There are six cards in the box.

Monday, October 12, 2009

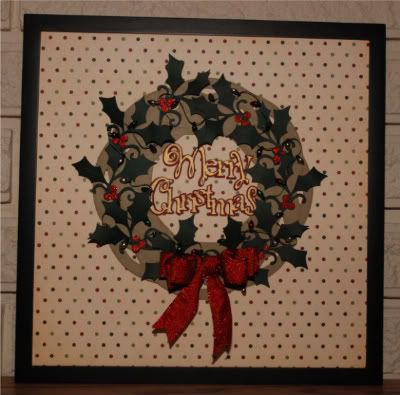
Christmas Wreath made with Design Studio

Happy Thanksgiving and welcome to my new blog! This year I am thankful to my DD who helped me set up this blog. After a wonderful Thanksgiving dinner we refocused our attention to what matters most: Cricut creations. In the spirit of the upcoming holiday season, I designed this wreath using Design Studio. The wreath base uses G, the holly sprigs are JS. I think it is a festive design that will grace any mantle or wall, filling your home with Christmas cheer. Now my DD wants one too.


George Wreath Instructions:

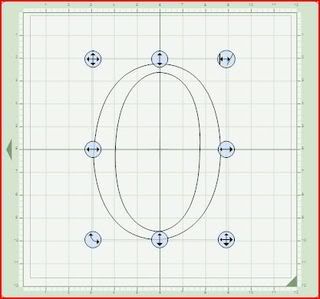
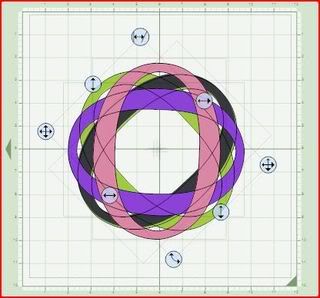
1. Select George Cart. Size 8" Zero. Move to center of a 12 x 12 mat.


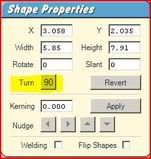
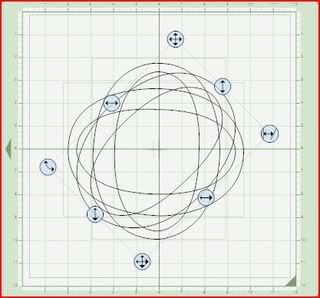
Copy and paste. The zero line gets darker. In the Shape Properties box select Turn 90. Move 2nd zero so shapes are equal. If the wrong handle on the selection box is selected while moving the zero in place, select Edit, Undo Transformed shapes to correct.


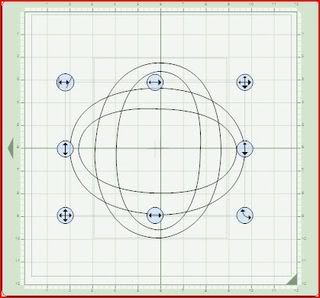
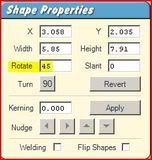
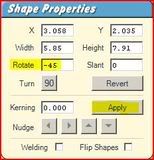
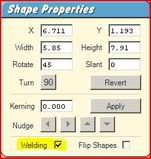
Paste another zero. This places the 3rd zero overtop of the first one. Rotate 45. Apply.


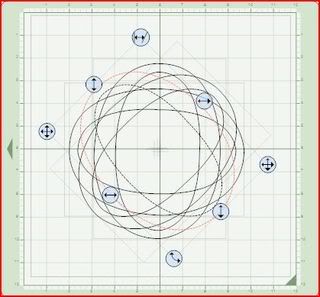
Paste again. Rotate -45. Apply (4th zero)


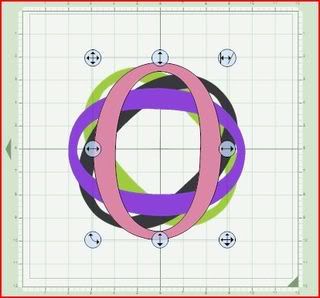
Preview, the zeros should be coloured. This makes it easier see what needs to be moved around to make the spaces equal.


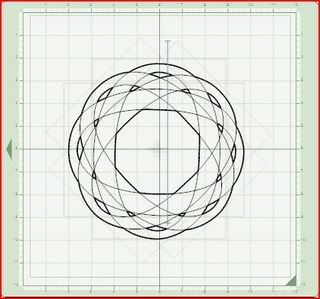
Weld each zero then Preview again and there should be a solid outline of the wreath. If there is a coloured one that means it isn't welded.


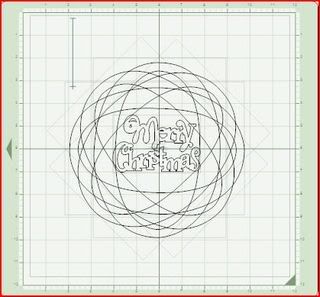
Select Joy of Seasons cart. Size 2 1/2" Shadow - Merry Christmas. Move the words into the center of the wreath so it is slightly overlapping on all sides.


That completes the design. I cut the wreath out of Chocolate Malt Colour Mates. Chalk the edges of the cutouts with dark brown.
Cut 2 1/2" shadow of Merry Christmas - red. Cut 2 1/2" Merry Christmas - gold.
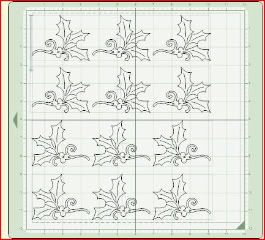
Cut 12 holly (shift, pointsetta)- 2 1/2". Cut 6 & Flip 6


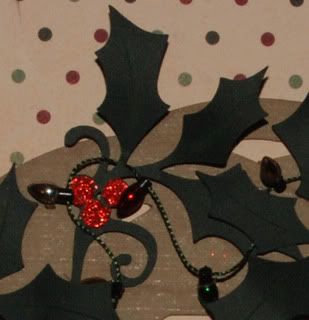
Use glue dots to adhere glitter to berries. Mini lights are adhered with dots also. Add dimension to the holy with foam tape and pop dots (different thicknesses). I used wired ribbon for the bow.
Mount in a 12 x 12 frame (without glass)


Hope you enjoy my design.
Cheers Colleen
 

lawsuit loans