
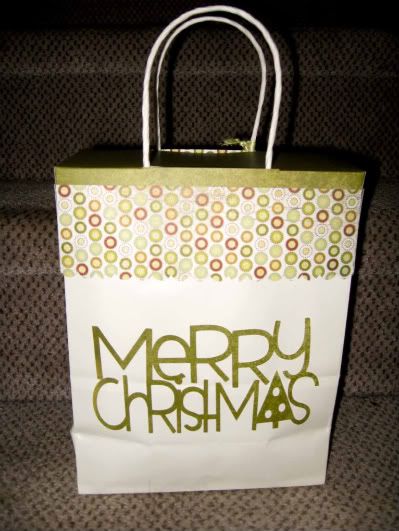
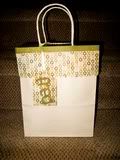
This bag topper is an old idea resurrected to be cut with the Cricut. For Christmas this year I am making "Soup in a Jar" as gifts for about a dozen people and needed a durable way to package them. I will be also be putting other smaller things in the bag. I wanted to be able to cut lots out quickly so it is just the right task for my trusty Cricut. If you leave a comment or and questions concerning the project, with your email address, I will send the cut file. This pattern works on 8" wide by 4 1/2" deep bags from M's.
INSTRUCTIONS:
Use two sheets of co-ordinating paper or two double sided papers of the same design.
If the paper has a directional design, such as words, cut the 12 x 12 into 6 x 12 for the cutting of the scallop fringes and cut it twice. If the paper has an allover non directional pattern, cut once, turn mat and cut again.
BAG TOPPER
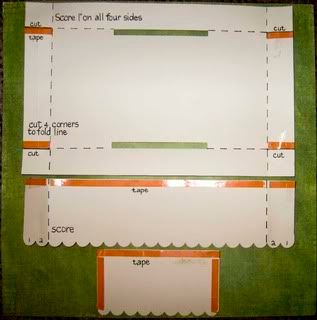
Score 1" from all 4 sides on the bag topper. Adhere tape to 4 edges (see red on diagram). Cut where indicated.
Score both longest scallop fringes two bumps from each end. Adhere tape along straight edge in three pieces (this makes folding easier).
Adhere tape to sides and top of short scallop fringe pieces.
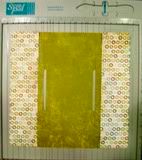
On the bag topper mark a line 1/2" from the edge to line the fringe against. Peel only the middle piece of tape on the fringe and attach to the topper. Repeat with the other long piece of fringe.
Remove protective covering on tape on the 4 cut lines on the bag topper. Fold tabs to inside and adhere.

Fold the scallop fringe around all 4 corners and adhere.
Adhere side scallop fringes along the top first and then overlapping the bumps neatly, adhere sides.
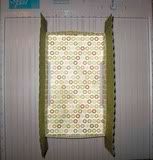
Adhere Merry Christmas to front of bag. Put topper on for placement. A little tip for gluing. I use an old phone book. Each time I glue something I flip the page so your work area stays glue free.
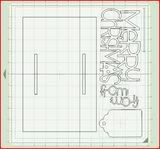
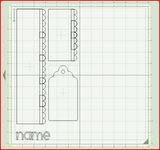
TAG
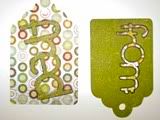
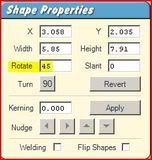
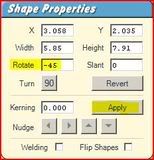
On the fringe Screen Shot(fig. 2) where it says name, delete that and put in your own special person. I used Simply Sweet Alphabet and welded it. Make sure it fits the tag. The tag on the bag topper Screen Shot is just extra & smaller. Didn't want to waste paper. After I glued on the name and From:, I outlined them with black pen to make them stand out more.
I will post another picture when I get all the bags done. It is fun experimenting with different colour combinations. Hope you have fun making some of these. I made the soup this weekend to make sure the recipe was good and my husband thought it was delicious. I do nice things like that because he does all the editing of my pictures before I upload them.
Cheers Colleen


 ">
">